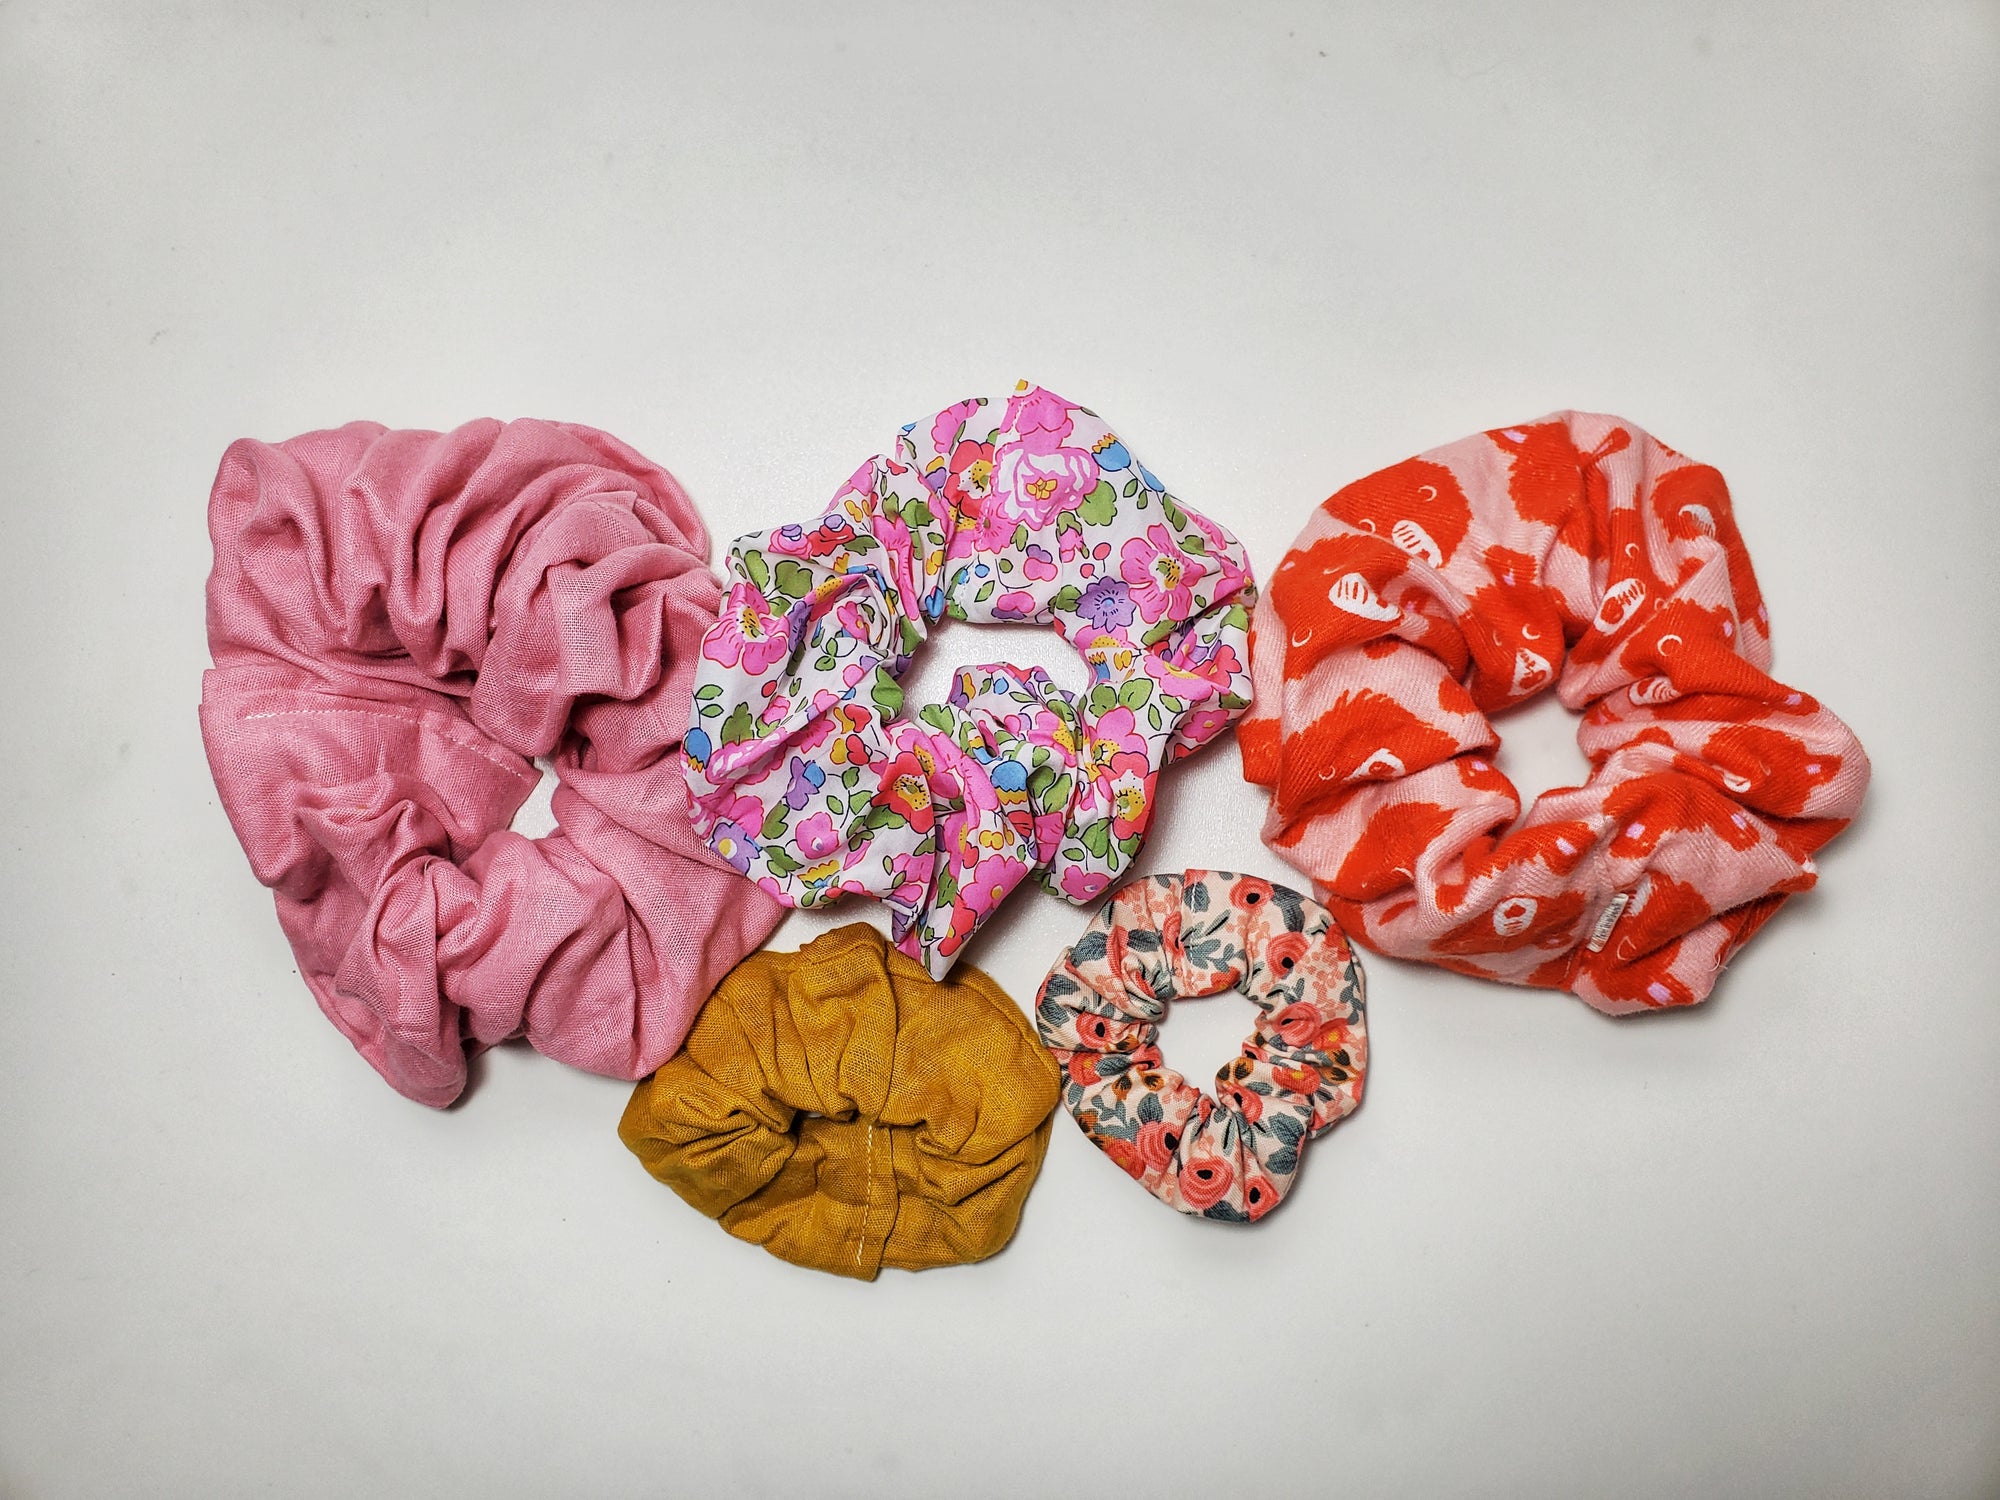
Scrunchie is another simple project if you have some bolt end or scrap. This makes great stocking stuffer!

Materials
Scrunchie size is really depending on how small or large you prefer them to be, for kids or adults, as well as the fabric type that you have. Typically, thicker materials like velvet should require less material since you don't want it to bulk up too much that the elastic can't hold your hair, and thinner material like rayon or cotton lawn could use a few more inches of length to create a fuller look. Here are some of the dimensions I use for different types of fabric. These dimensions work for 3/8 inches (1cm) seam allowances, I found that using slightly smaller (1/4") or larger seam allowances (5/8") don't really impact the final shape of your scrunchies very much, but if you like to keep them consistent then just make sure you add or substract them to your cut fabric as needed.
Adults:
The following dimensions are given for (extra?) large size, which are the red teddy bear, pink double gauze and pink Liberty London Betsy floral I have in the photo above. You can see how they fit on my wrist, scroll down below.
- Cotton / Double Gauze: 24-25 inches length, 4.5-6 inches width
- Rayon / Satin: 28-29 inches length, 4.5-6 inches width
- Velvet / Twill: 22 inches length, 4.5 inches width
- Elastic: 9 inches (For thicker hair, wide elastic up to 2cm is preferred for me. For thinner hair, I recommend 1/4inch or 3/8inch elastic.)
Kids:
- Cotton / Double Gauze: 12-13 inches length, 3-4 inches width
- Rayon / Satin: 14-15 inches length, 3-4 inches width
- Velvet / Twill: 11-12 inches length, 3.5 inches width
- Elastic: 7 inches 1/4inch elastic
Video Tutorial
Instructions
1. Fold one edge of the end down about 3/8 inches (1cm). Press to keep it in place.

2. Right side together, sew the long edge of the fabric together. Make sure to sew the folded edge.

3. Turn the "tube" inside out.
4. Insert the elastic. Tie it with a knot for thinner elastic (I'd like to do two loops to keep it from unravelling. Add a glob of fabric glue if you want extra security.) or sew zigzag if using the wider elastic. This Clip N Glide Bodkin does make thing easier if you use wide elastic.

5. Insert the raw edge of the tube inside the folded edge of the tube. Make sure at least 3/8 inches (1cm) of length is inserted inside.
6. Roll the elastic to make sure they are not twisted inside the tube. Roll it into the middle of the tube. Sew the edge close. Add a tag if you want to customize it.


