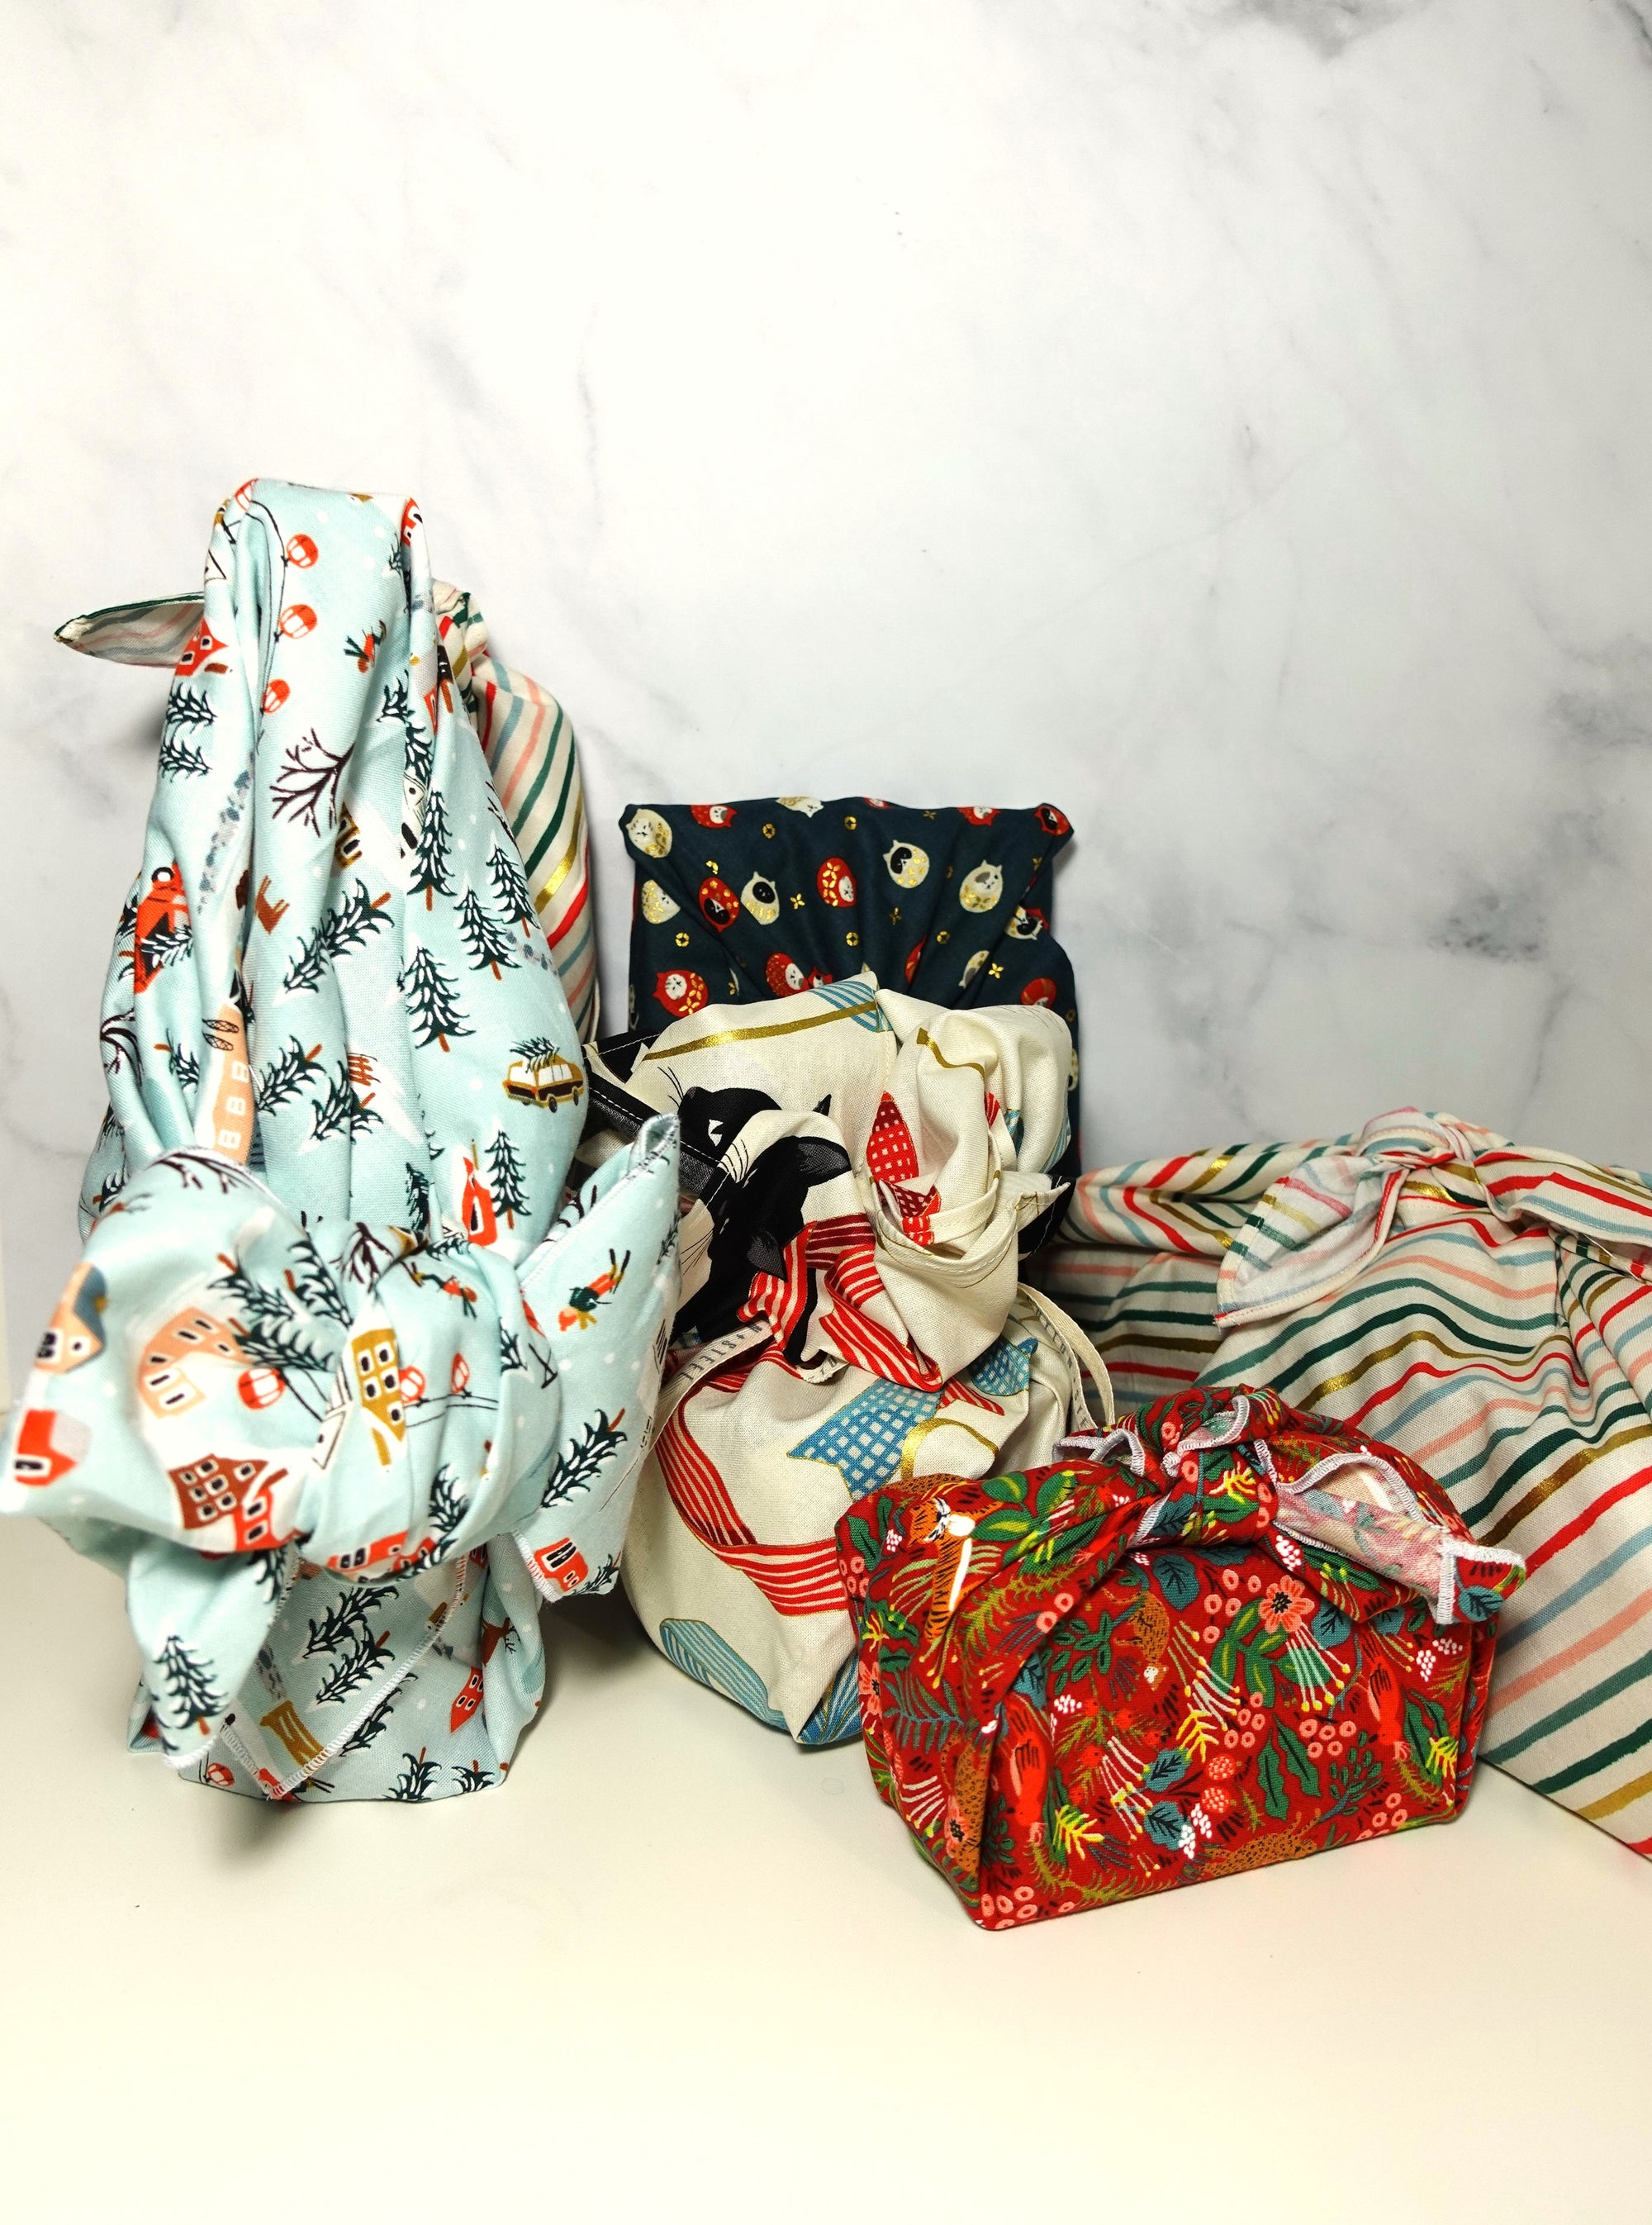
I always have some bolt end fabric on hand. Although we're selling quilting fabric, most of my projects are clothing for my kids and myself. But one of the things I really like to sew is zipper pouch. They're great scrap buster or fat quarter projects. They're great to store little things. My kids used it for their mask and hand sanitizer bags, pencil bags, etc.
Materials:
- 2 pieces of main fabric, cotton or canvas
- 2 pieces of lining fabric, cotton or muslin (may not be needed if you use canvas and feel that your fabric is strong enough), cut to the same dimension as the main fabric
- 2 pieces of interfacing (woven or fleece interfacing, the weight of
- 1 zipper, length of zipper is about 1 - 1.5 inches less than the length of the main fabric, depending on how much seam allowance you typically used. (For example, the main fabric I have cut out have length of 10 inches, so I'm using a 9-in zipper).
- Pin or clips
Video Tutorial:
Instructions:
1. Apply interfacing to your main fabric.2. Place the right side of the main fabric together with the top side of the zipper. Place the right side of the lining fabric on top, facing the bottom side of the zipper. Using zipper foot to sew the zipper on the zipper on. Repeat on the other side.

3. Top stitch the main fabric and lining on to the zipper.

4. Open the zipper more than half way to prepare for next step.
5. Turn the right side of the fabric to face each other, and the right side of the lining to face each other.
6. Starting from about a quarter of the bottom edge of the lining fabric, sew the round at the edge from the lining to the main fabric side, back at the lining, leaving about 1.5 to 2 inches gap for turning.

7. Turn the right side of the main fabric out.
8. Folded the edge of the gap from the lining neatly. Top stitch to close.

Other options to spice up your zipper pouch
- To make a pouch with a boxy bottom, cut out 1 to 1.25" square at each corner after step 5. (The bigger the square, the shorter your pouch will be.) Open each square and fold them so that the bottom and side seams matches. Sew the edge. Once all four corners are sewn, turn the right side fabric out as step 6 and 7.
- Add an ending for the zipper: Cut two pieces of small fabric, size 1 x 1 inch, match with the main fabric or contrasting color. Sew onto the end of the zipper.
- Color blocking & patchwork
- Adding trim
Here's one that I did with embroidered k-pop hand love sign. <3